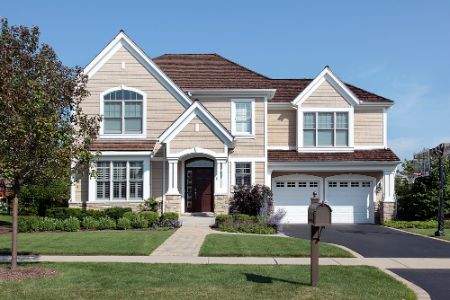
1. We survey the entire job.
We determine exactly what has to be done, how it will be done, and organize the job accordingly.

1. We survey the entire job.
We determine exactly what has to be done, how it will be done, and organize the job accordingly.
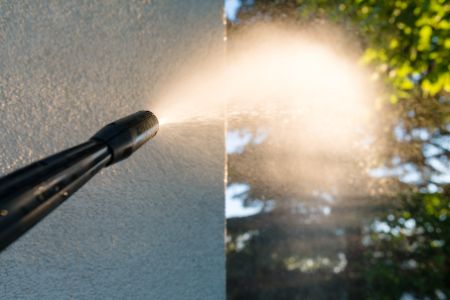
2. Washing is done as needed to ensure proper adhesion of coatings.
Washing ensures the surface is clean and free of contaminants, facilitating optimal adhesion of coatings.
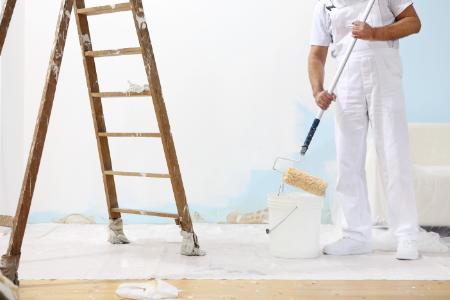
3. Properly protect large areas not to be painted
Using drop cloths, and poly plastic such as floors, furniture, etc. inside, and landscaping, driveway, etc. outside.
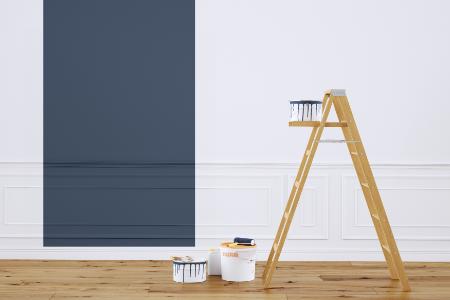
4. Remove small items such as light switch plates, house numbers, mailbox, etc.
To ensure all areas are properly prepared and painted.
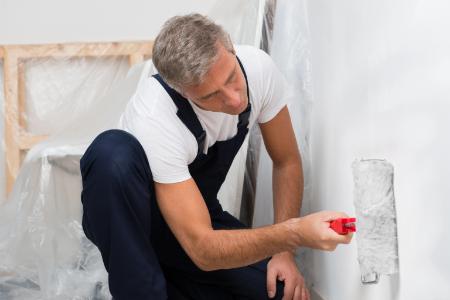
5. Scrape and sand loose paint/stain and other imperfections.
Scraping and sanding eliminate loose paint, stain, and imperfections, ensuring a smooth surface for flawless coating adhesion.
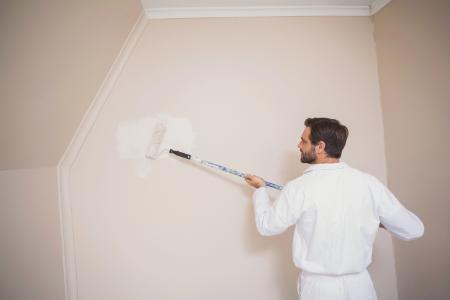
6. Reset and reputty loose nails.
Resetting and puttifying loose nails ensures a stable foundation for seamless coating application, while enhancing overall durability.
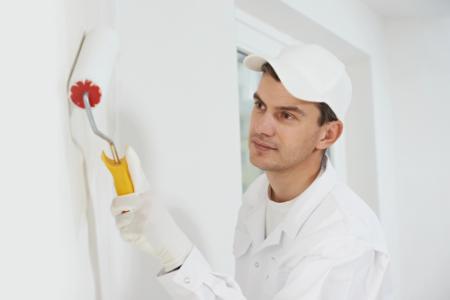
7. For a cleaner, more finished appearance, caulk cracks where necessary and fill holes and other imperfections as needed.
Caulking cracks and filling imperfections before painting ensures a smooth and uniform surface, enhancing the appearance and longevity of the paint job.
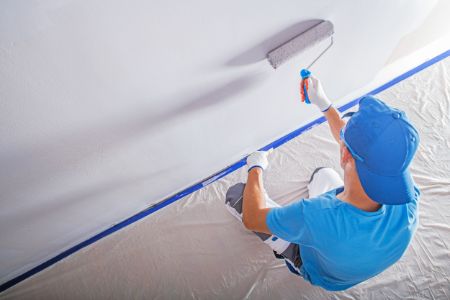
8. Seal watermarks, and other blemishes that could "bleed through" later.
Sealing watermarks before painting is important to prevent it bleeding or smudging into the paint layers, ensuring a clean and crisp final result.
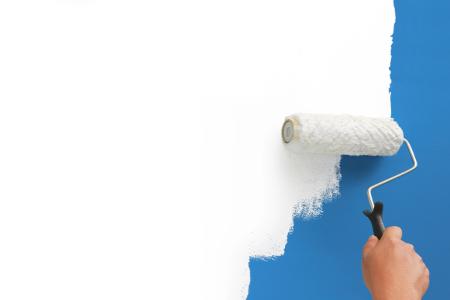
9. Prime as needed.
Sometimes only spot priming is needed in bare and spackled areas while other situations call for a full prime coat.
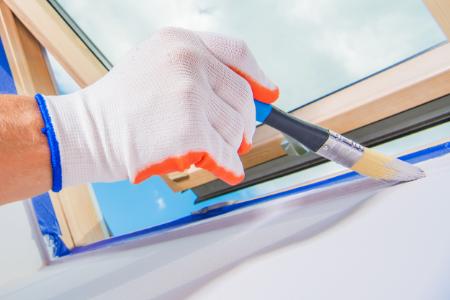
10. If painting windows, replace loose or missing window glazing.
Missing window glaze can lead to increased moisture infiltration and temperature fluctuations, which can cause paint to peel, crack, or bubble near the windows.
11. We now apply a finish using top quality materials.
A paint finish determines the aesthetic appearance, durability, and sheen level of the painted surface, influencing factors such as light reflection, ease of cleaning, and overall ambiance of the space.
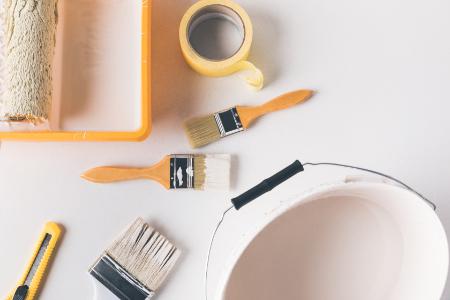
12. At this point, we do a thorough inspection to ensure the job meets our quality standards and then make improvements as needed.
After painting, it's important to inspect for even coverage, smooth texture, absence of drips or streaks, proper drying, and any imperfections that may require touch-ups or corrections.
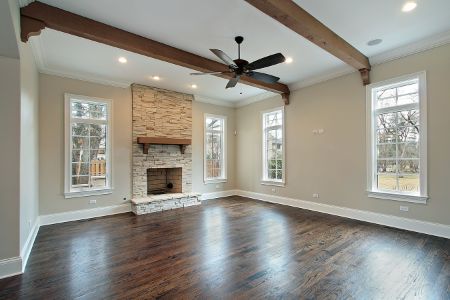
13. Remove masking, drop cloths, and other protection, and replace items removed earlier.
After carefully painting the room, we delicately maneuver the furniture back into place, ensuring not a single scratch marred the newly refreshed space.
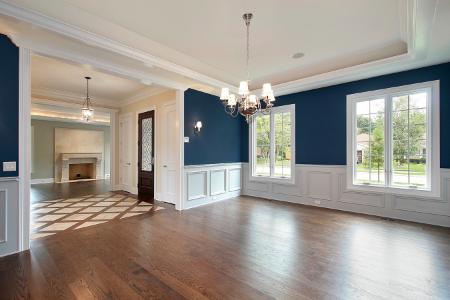
14. Remove all equipment and materials used for the project and do thorough clean-up.
It's crucial to leave the client's home as clean as it was before, to ensure their satisfaction and demonstrate respect for their space.
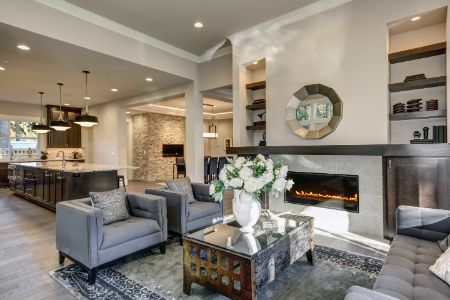
15. Label and leave touch up paint for future convenience.
Having touch-up paint on hand is crucial for promptly addressing any unforeseen scratches or blemishes that may occur after the initial painting process.